Luscombe builders log

Descriptions Page

Home
History / Background
Descriptions Page
Related Links
Contact Me

This is where i will begin my log for my rebuild project listed by daily work perfomed

I'll try to make my instructions easy to scan, but also as specific as possible. Where appropriate, I'll include pictures that illustrate the steps.

I found 3 Luscombe 8s behind a building that were scraped after the gentleman was done with a rebuild he had perfomed.
 After looking at the fuselages I decided to use the on that had minimal damage. the log books are lost at this time but i have a lead on who still has them.
 All that i know is all 3 were goundlooped (crashed on landing)and only one has a useable firewall.
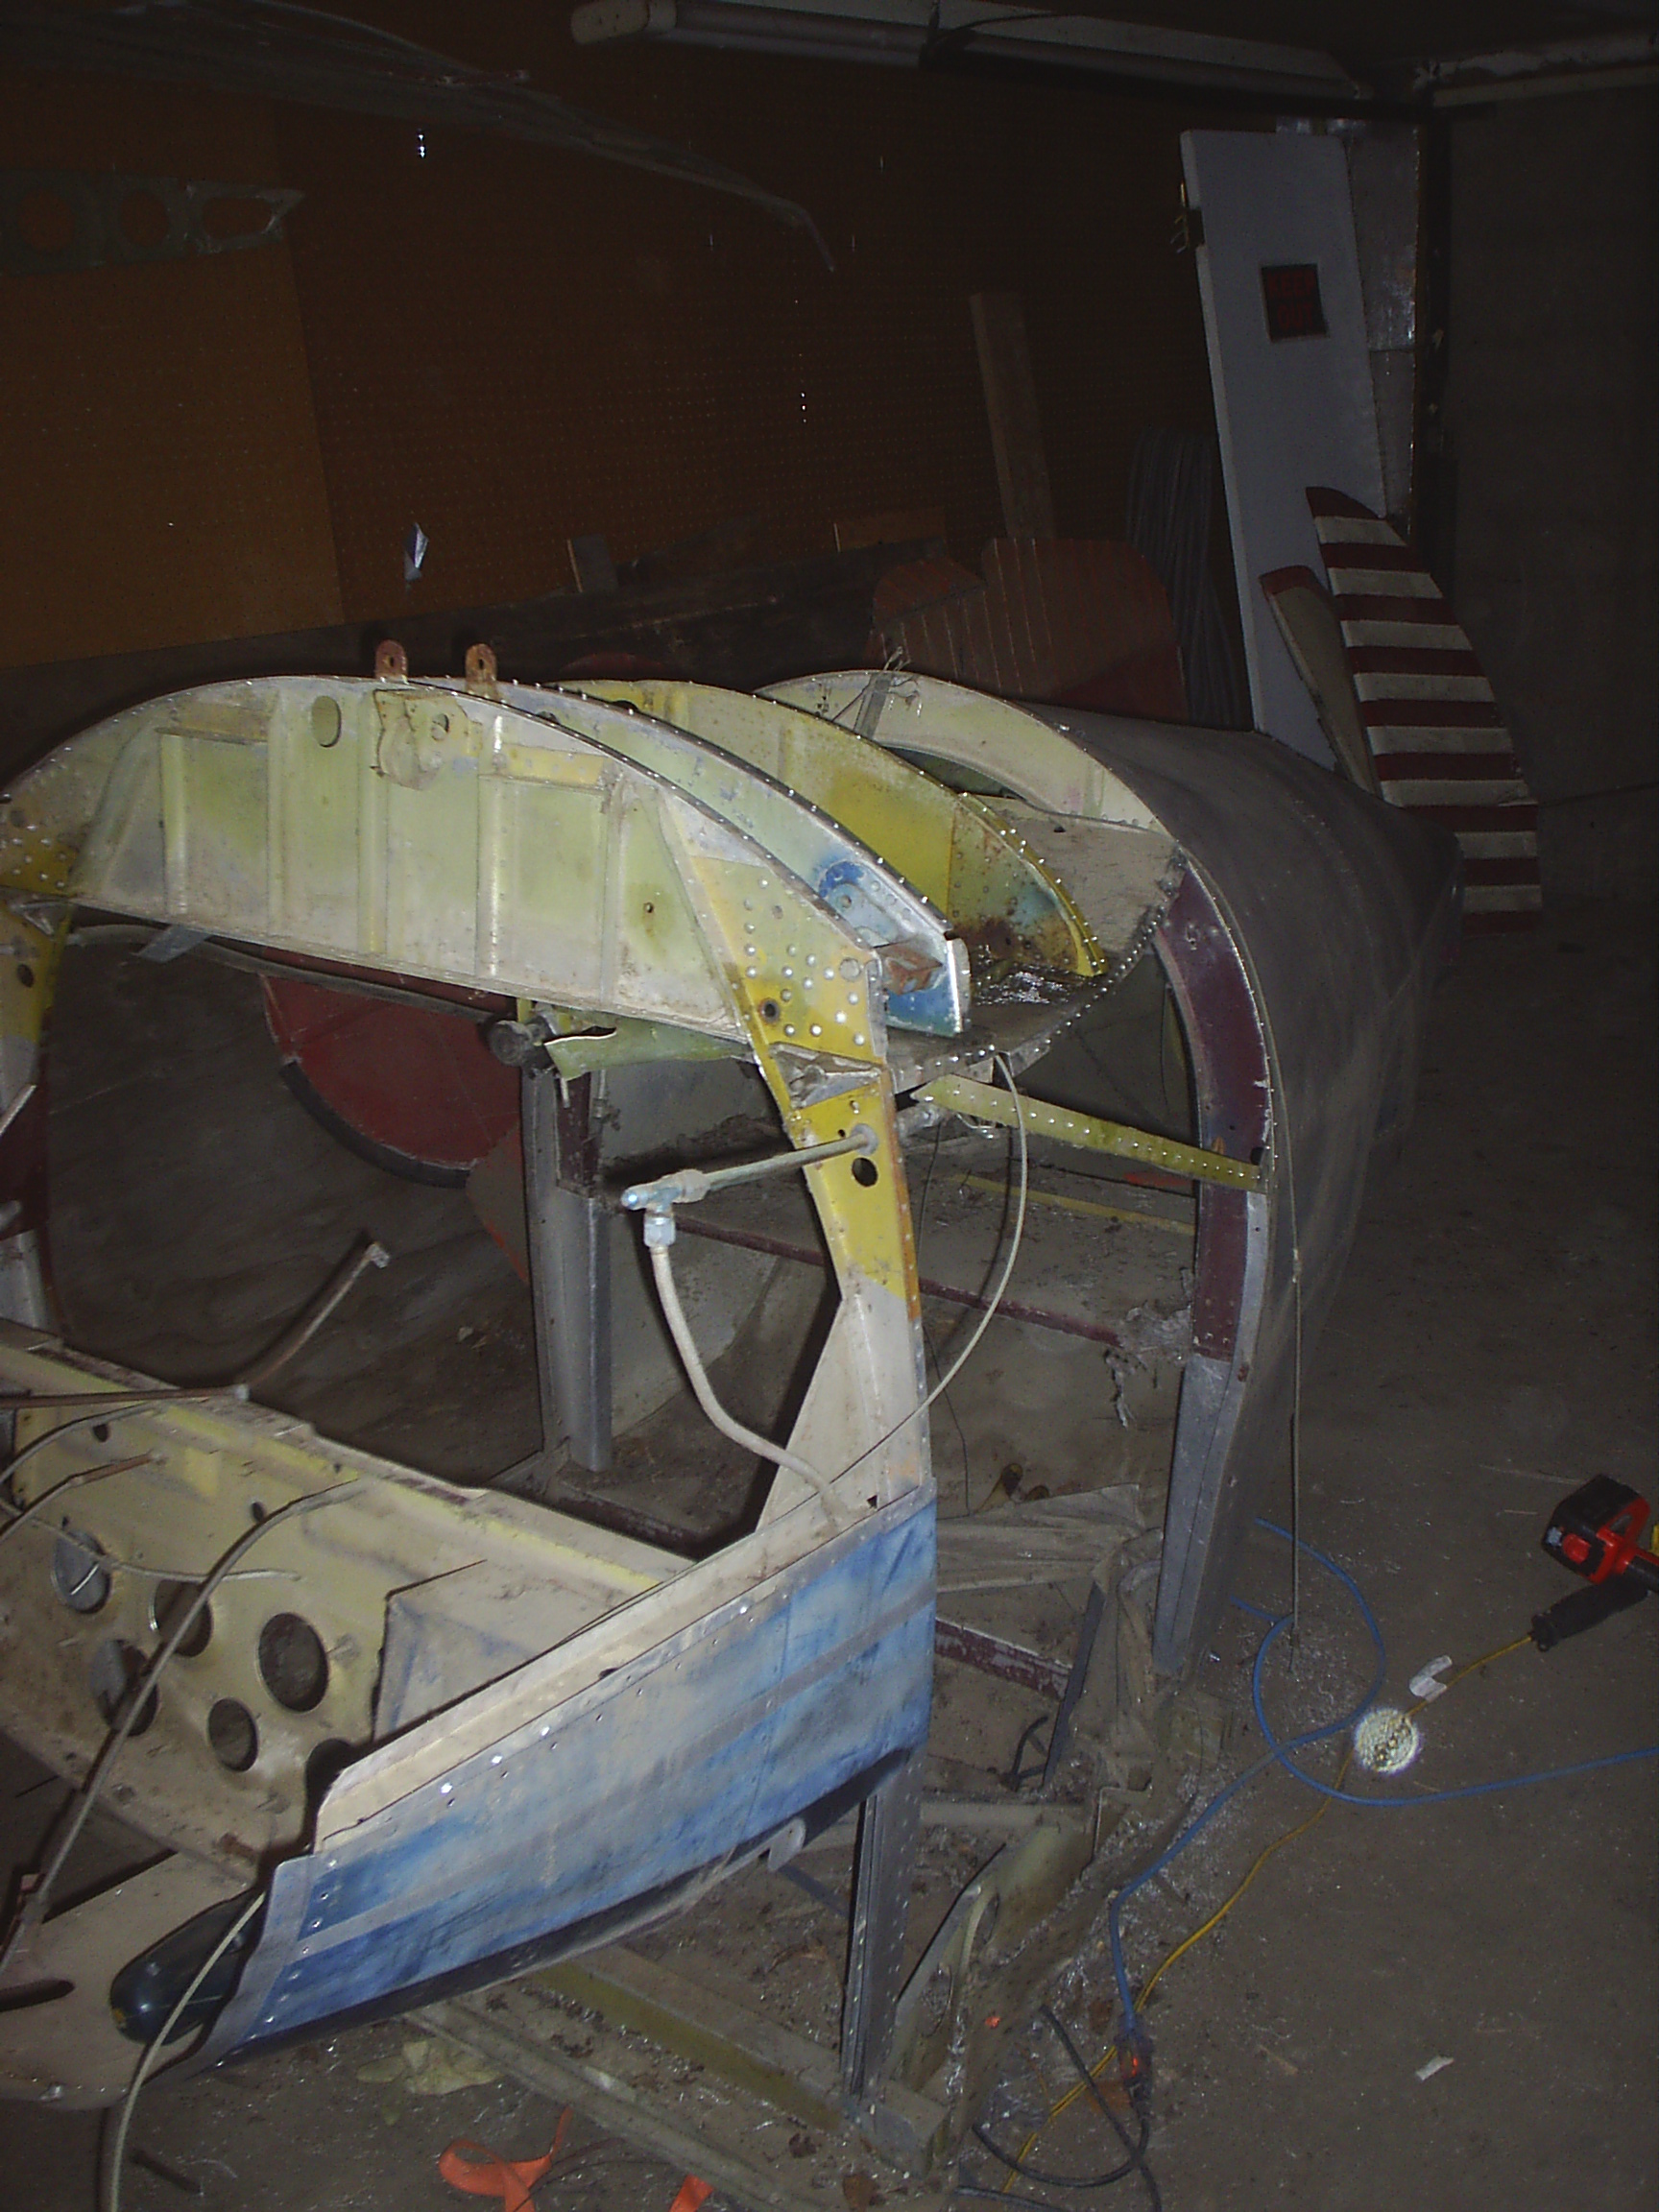
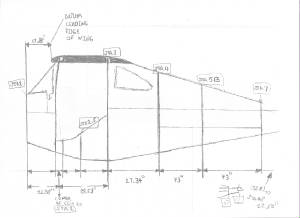
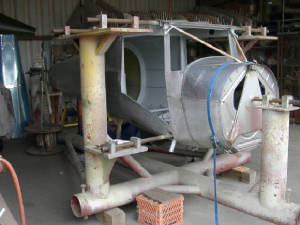
 The firewall will be salvaged from the one "really bent" and I will start the chore of jigging the aircraft to keep the fuselage straight.
 The plan as of now is to build a 8 e out of an 8 a ( wing tanks and 0200 lycoming engine) and get a full compliment of insturments on board (we'll see how that goes)

day 1
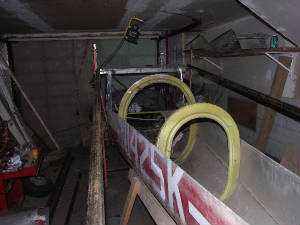
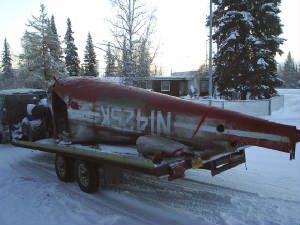
 We picked up the one fuselage( N1425k )and are in the process of making notes as to damage sustained and serviceability.
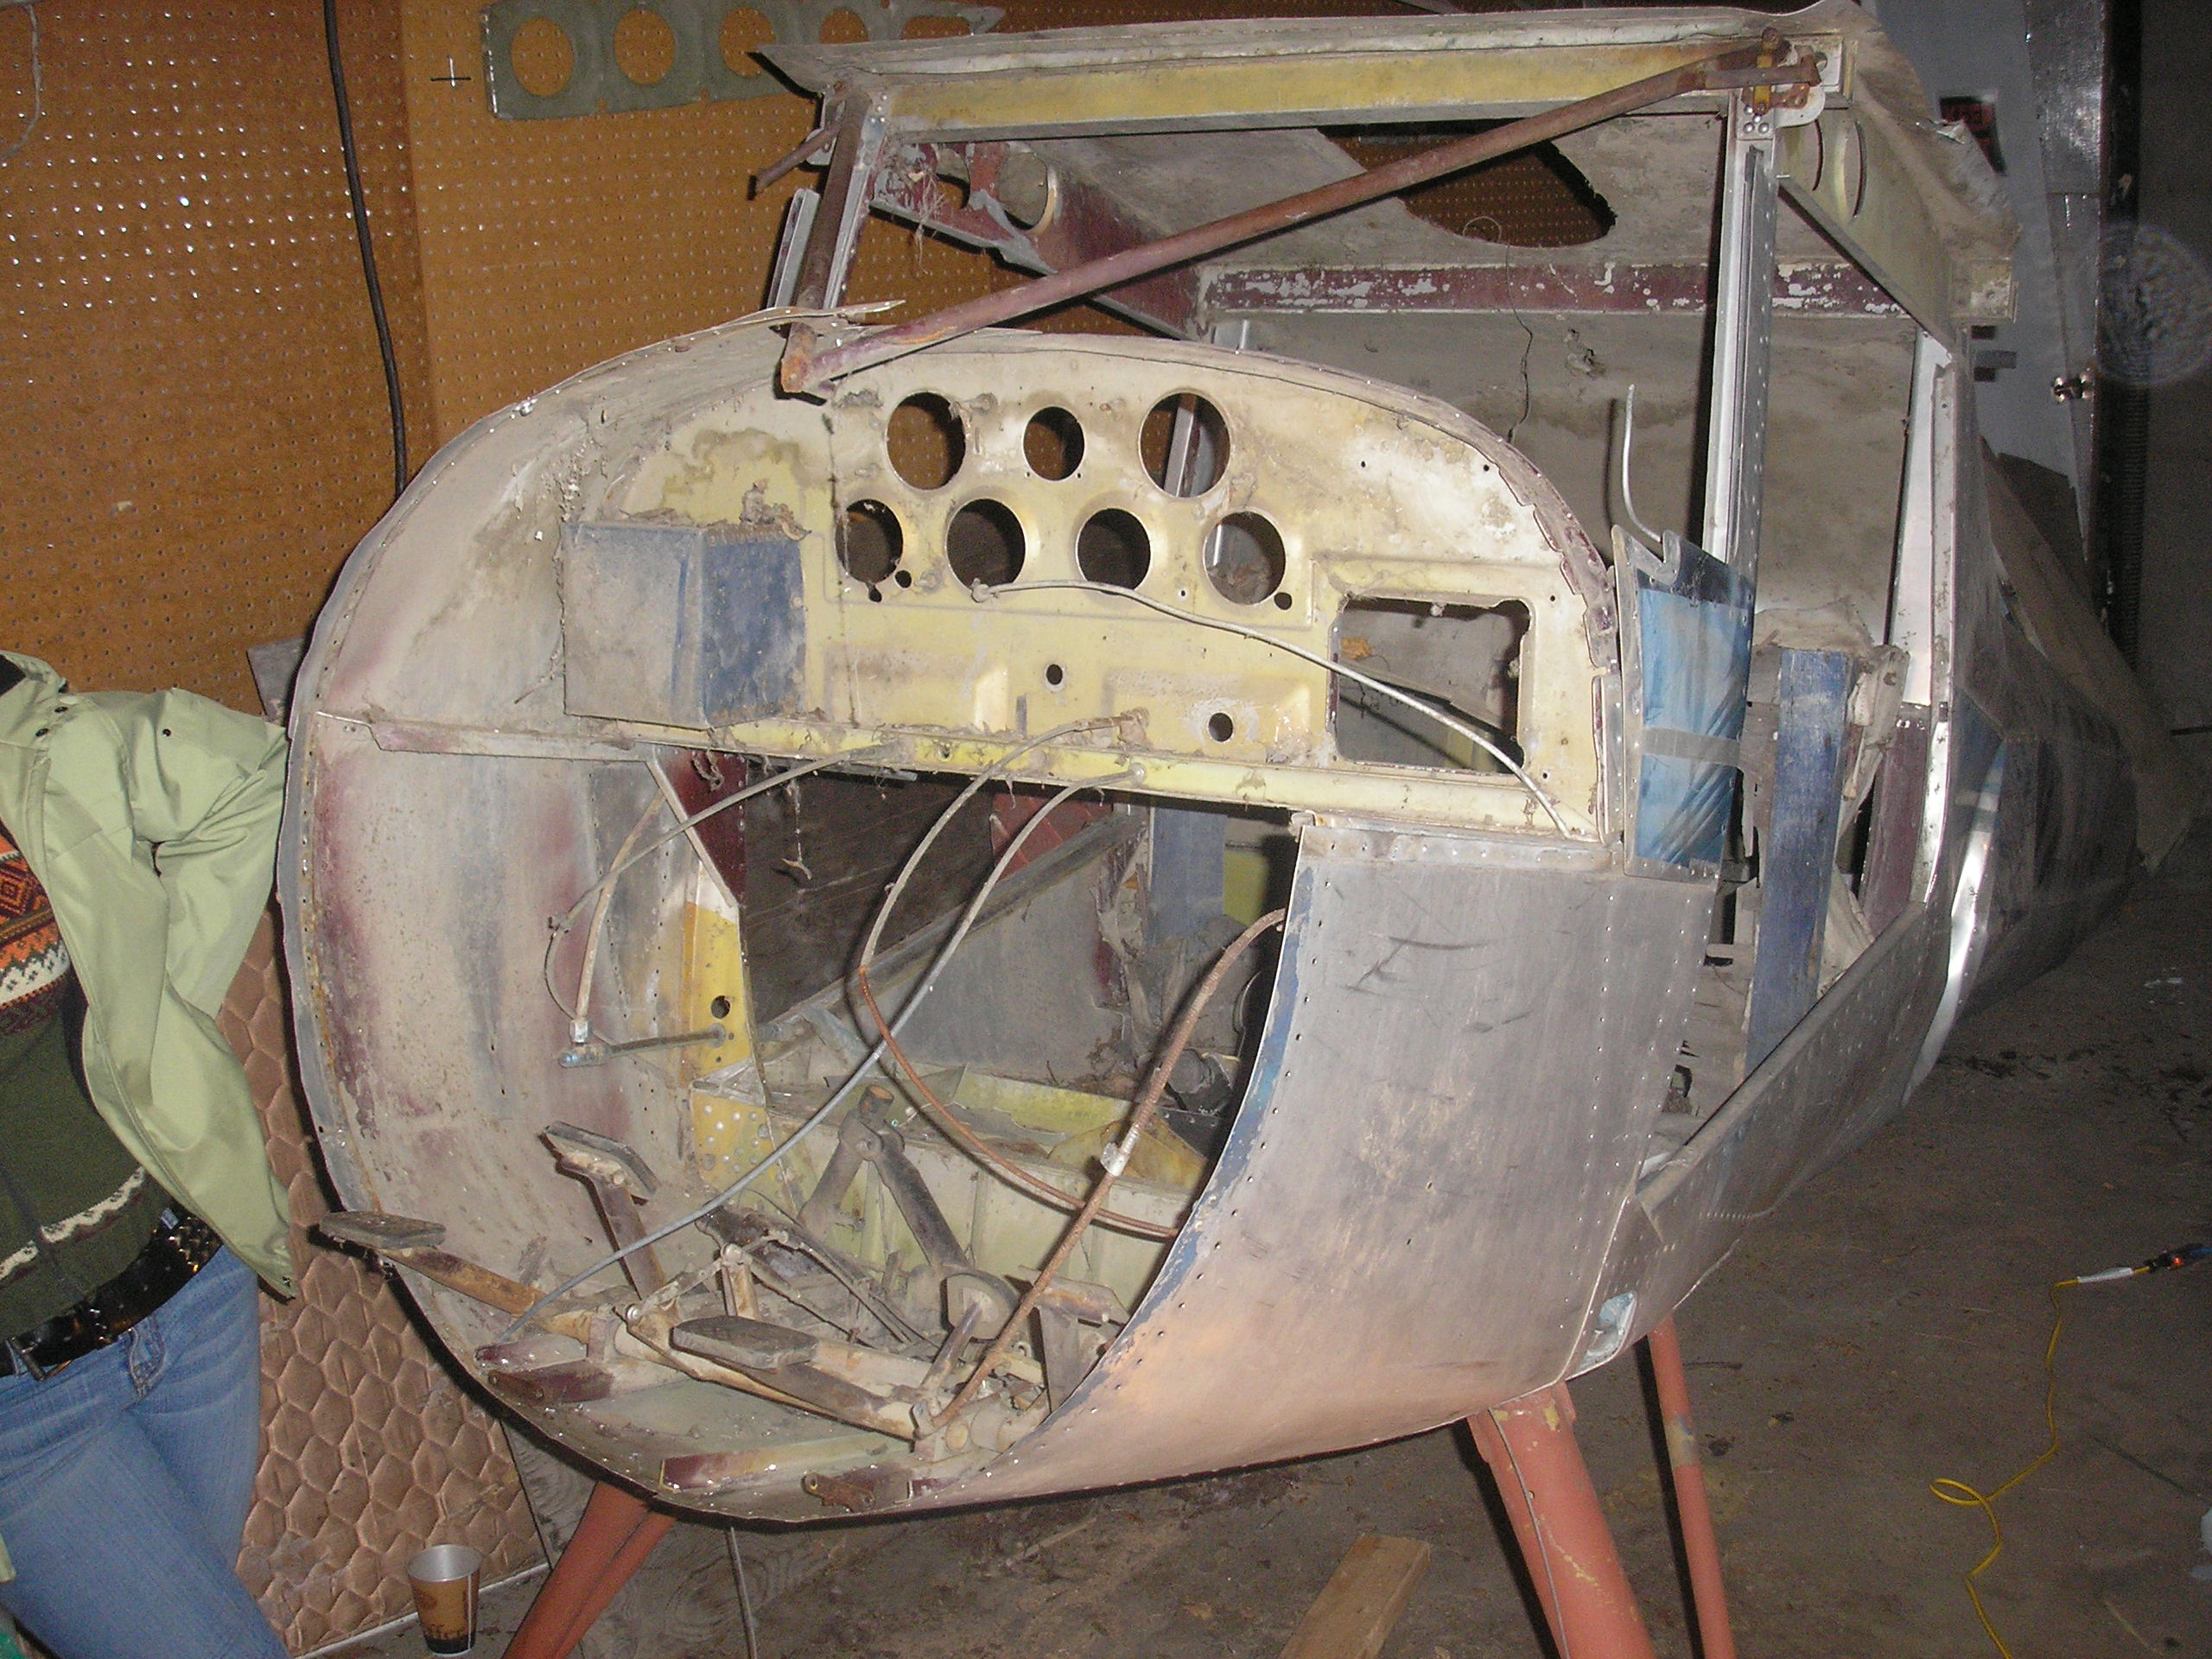
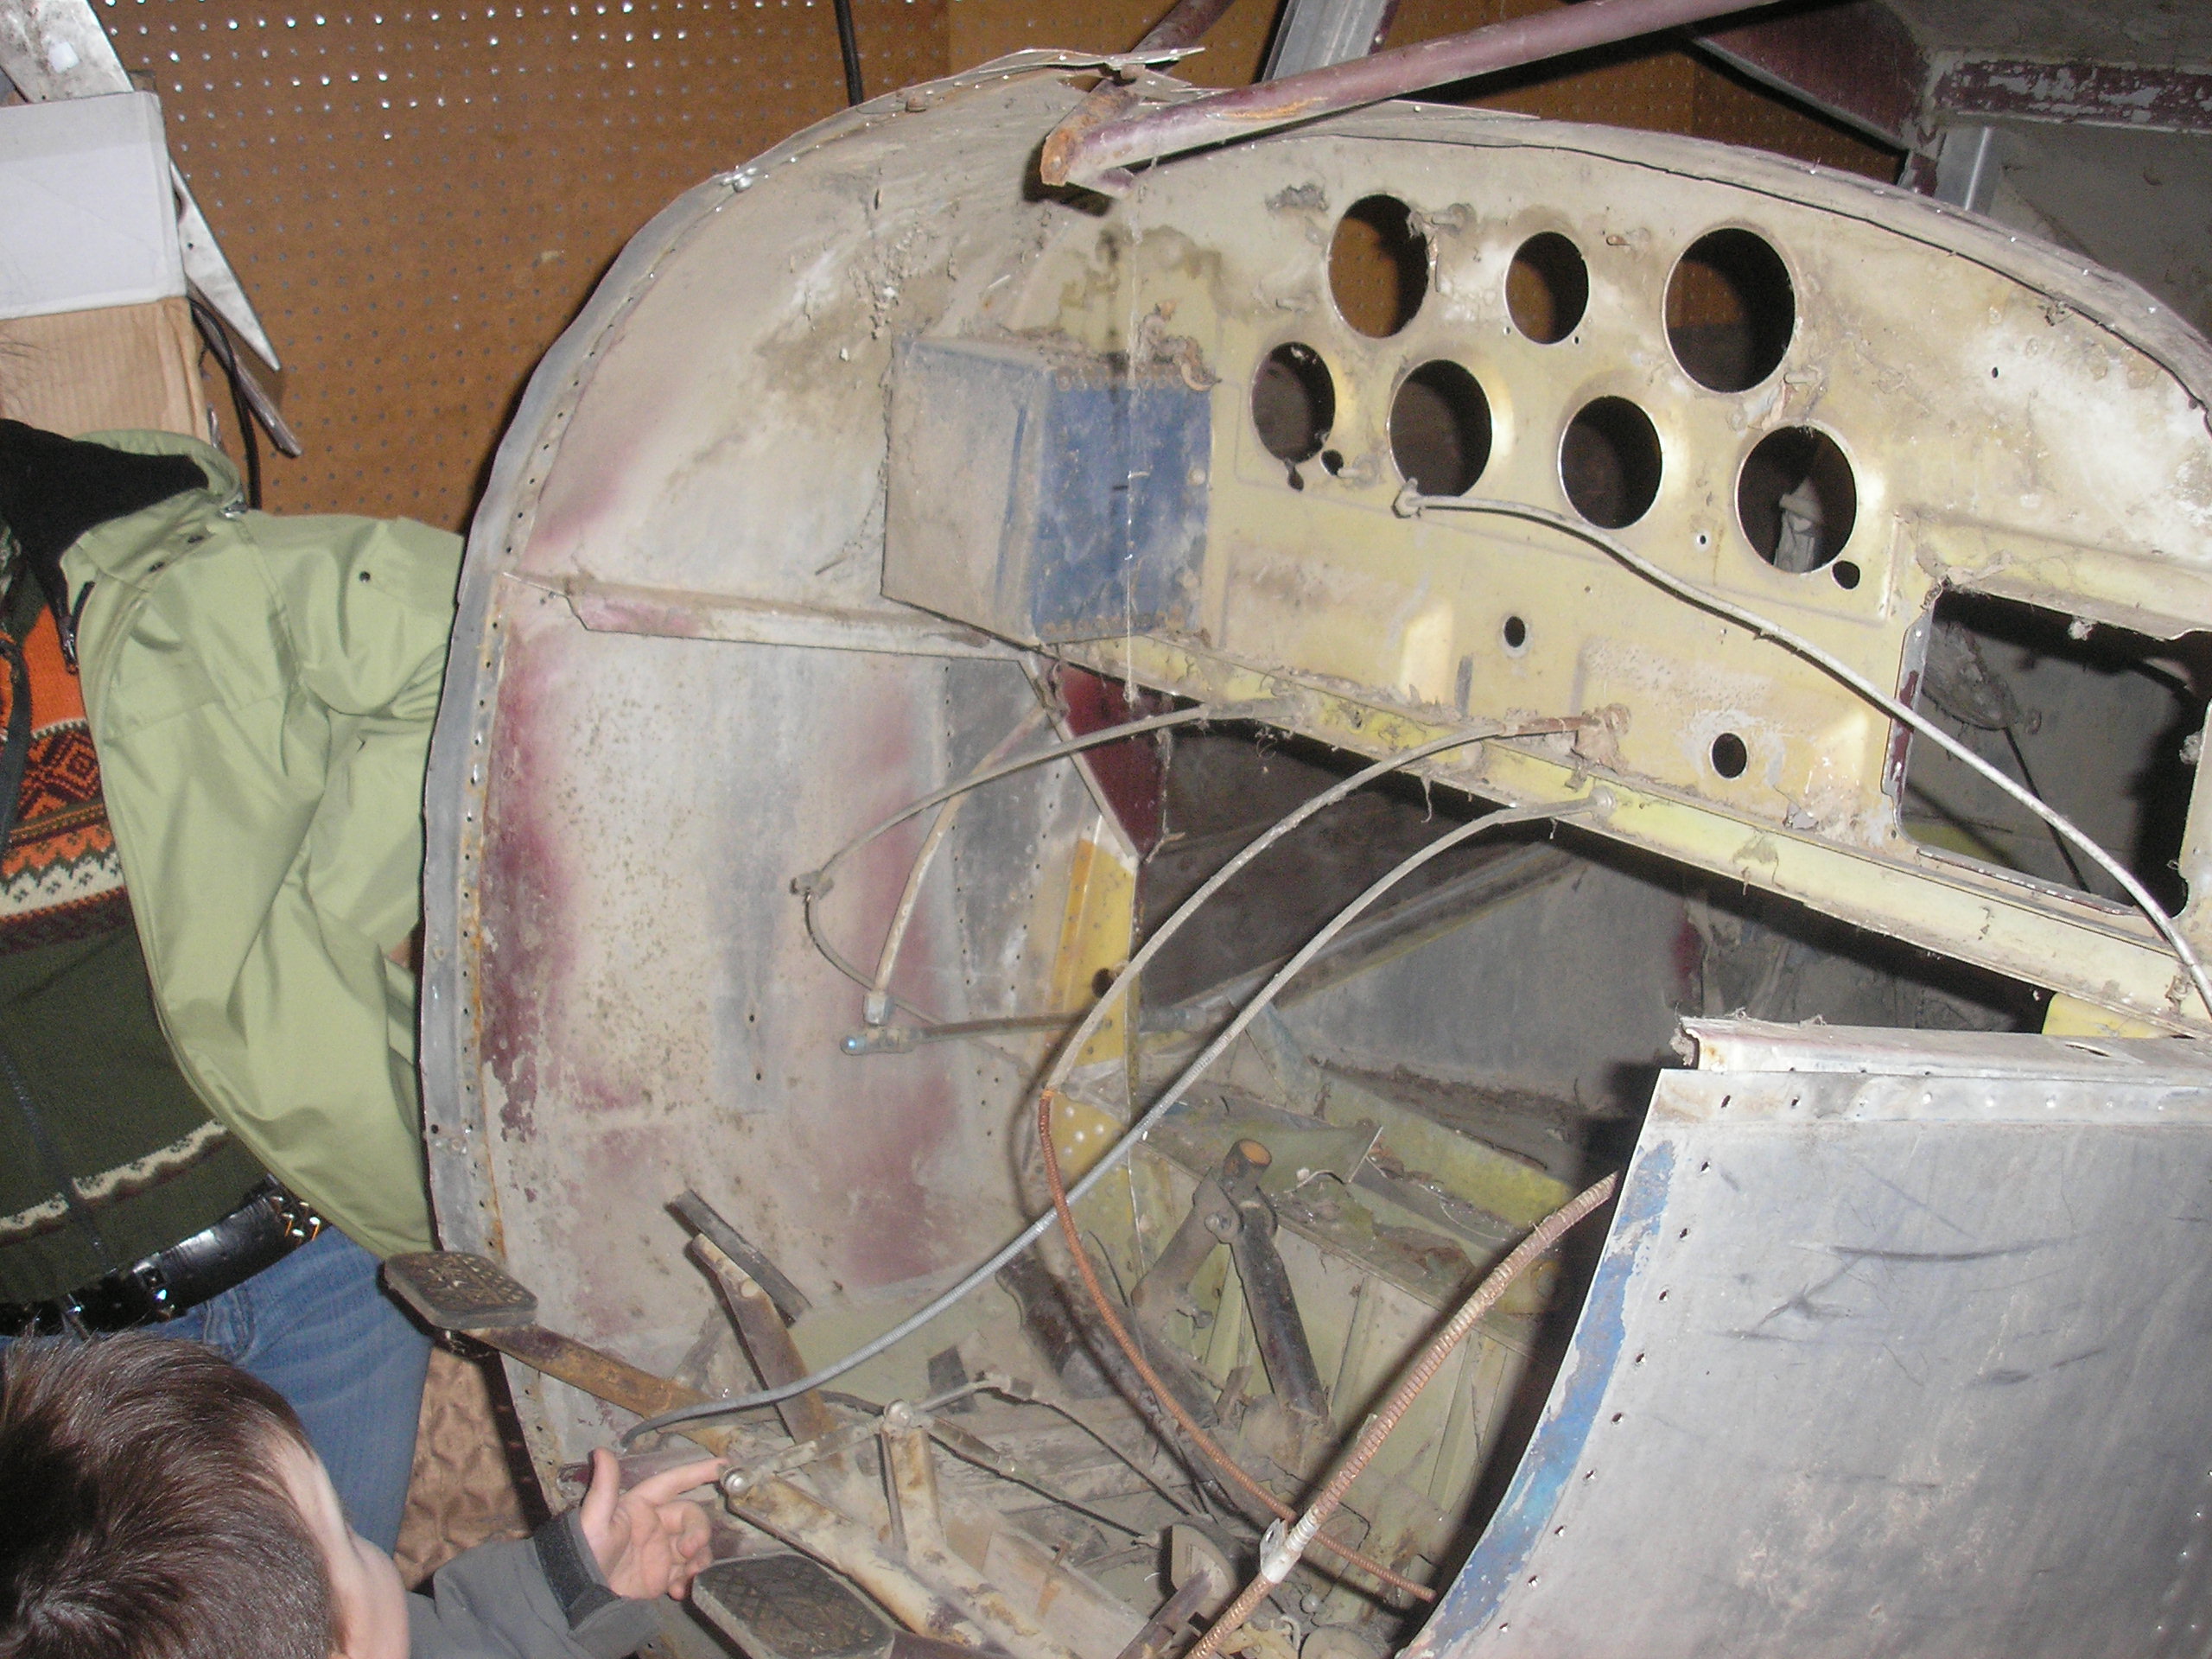
 Noted damage includes numerous dents and cuts to the skin attached to the firewall, engine mounts were torn out after impact.no landing gear installed,doors removed as well as all interior components / seats,However, the joy sticks are still in place and rudder pedals. Fuel cell installed behind seats at #3 bulkhead,  3 Hornets nest were found behind the tank (thank God the thing was out side and froze the critters).
Top of fuselage behind pilot at #3 bulkhead dented with no noticable damage to bulhead. small dents noted on pilots side fuselage (minor), tail feathers removed prior to purchase as well as tail wheel

25k2.jpg

2nd entry.
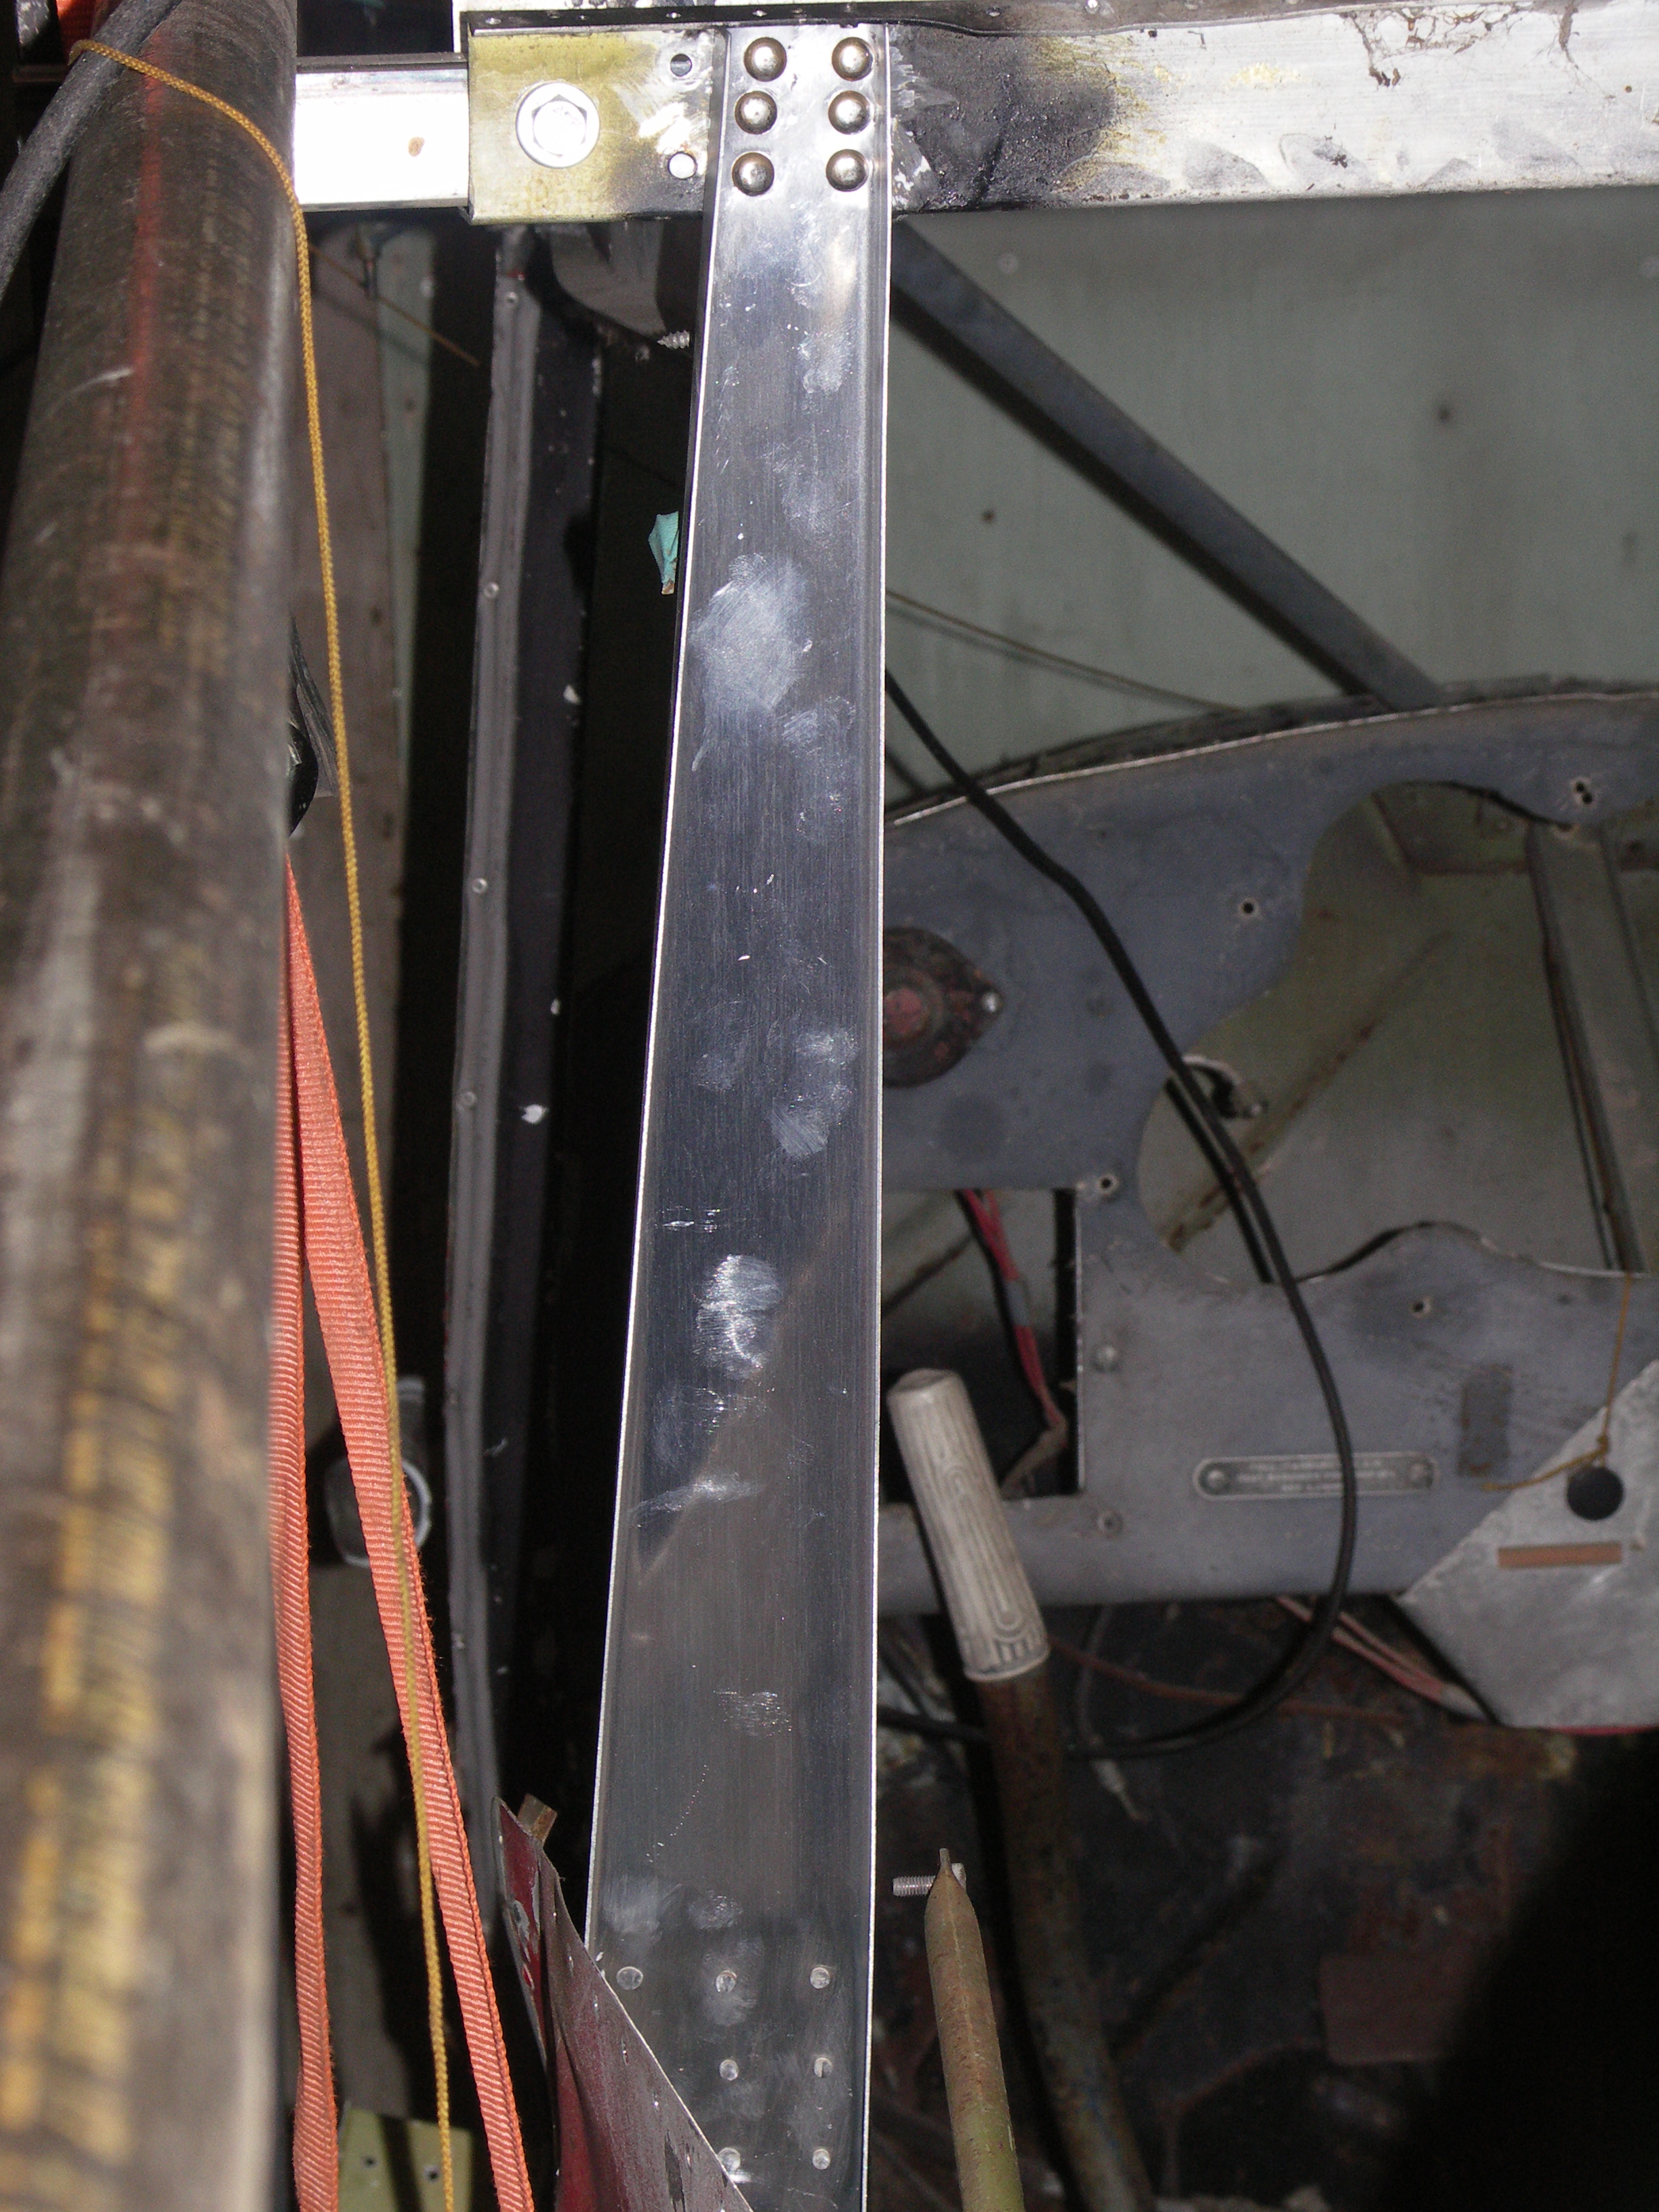
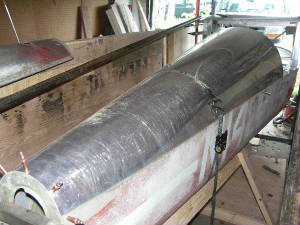
  After looking at ser # 6679,I have decided to use most of the fuselage from #2bulkhead forward,including all controls and landing gear.
 I have canibalized the control pedals and will sandblast them.
The fire wall has been removed(with help from my son Bailey),I am going to take the firewall to metal by sandblasting, get an inspection on it and prep it to paint.
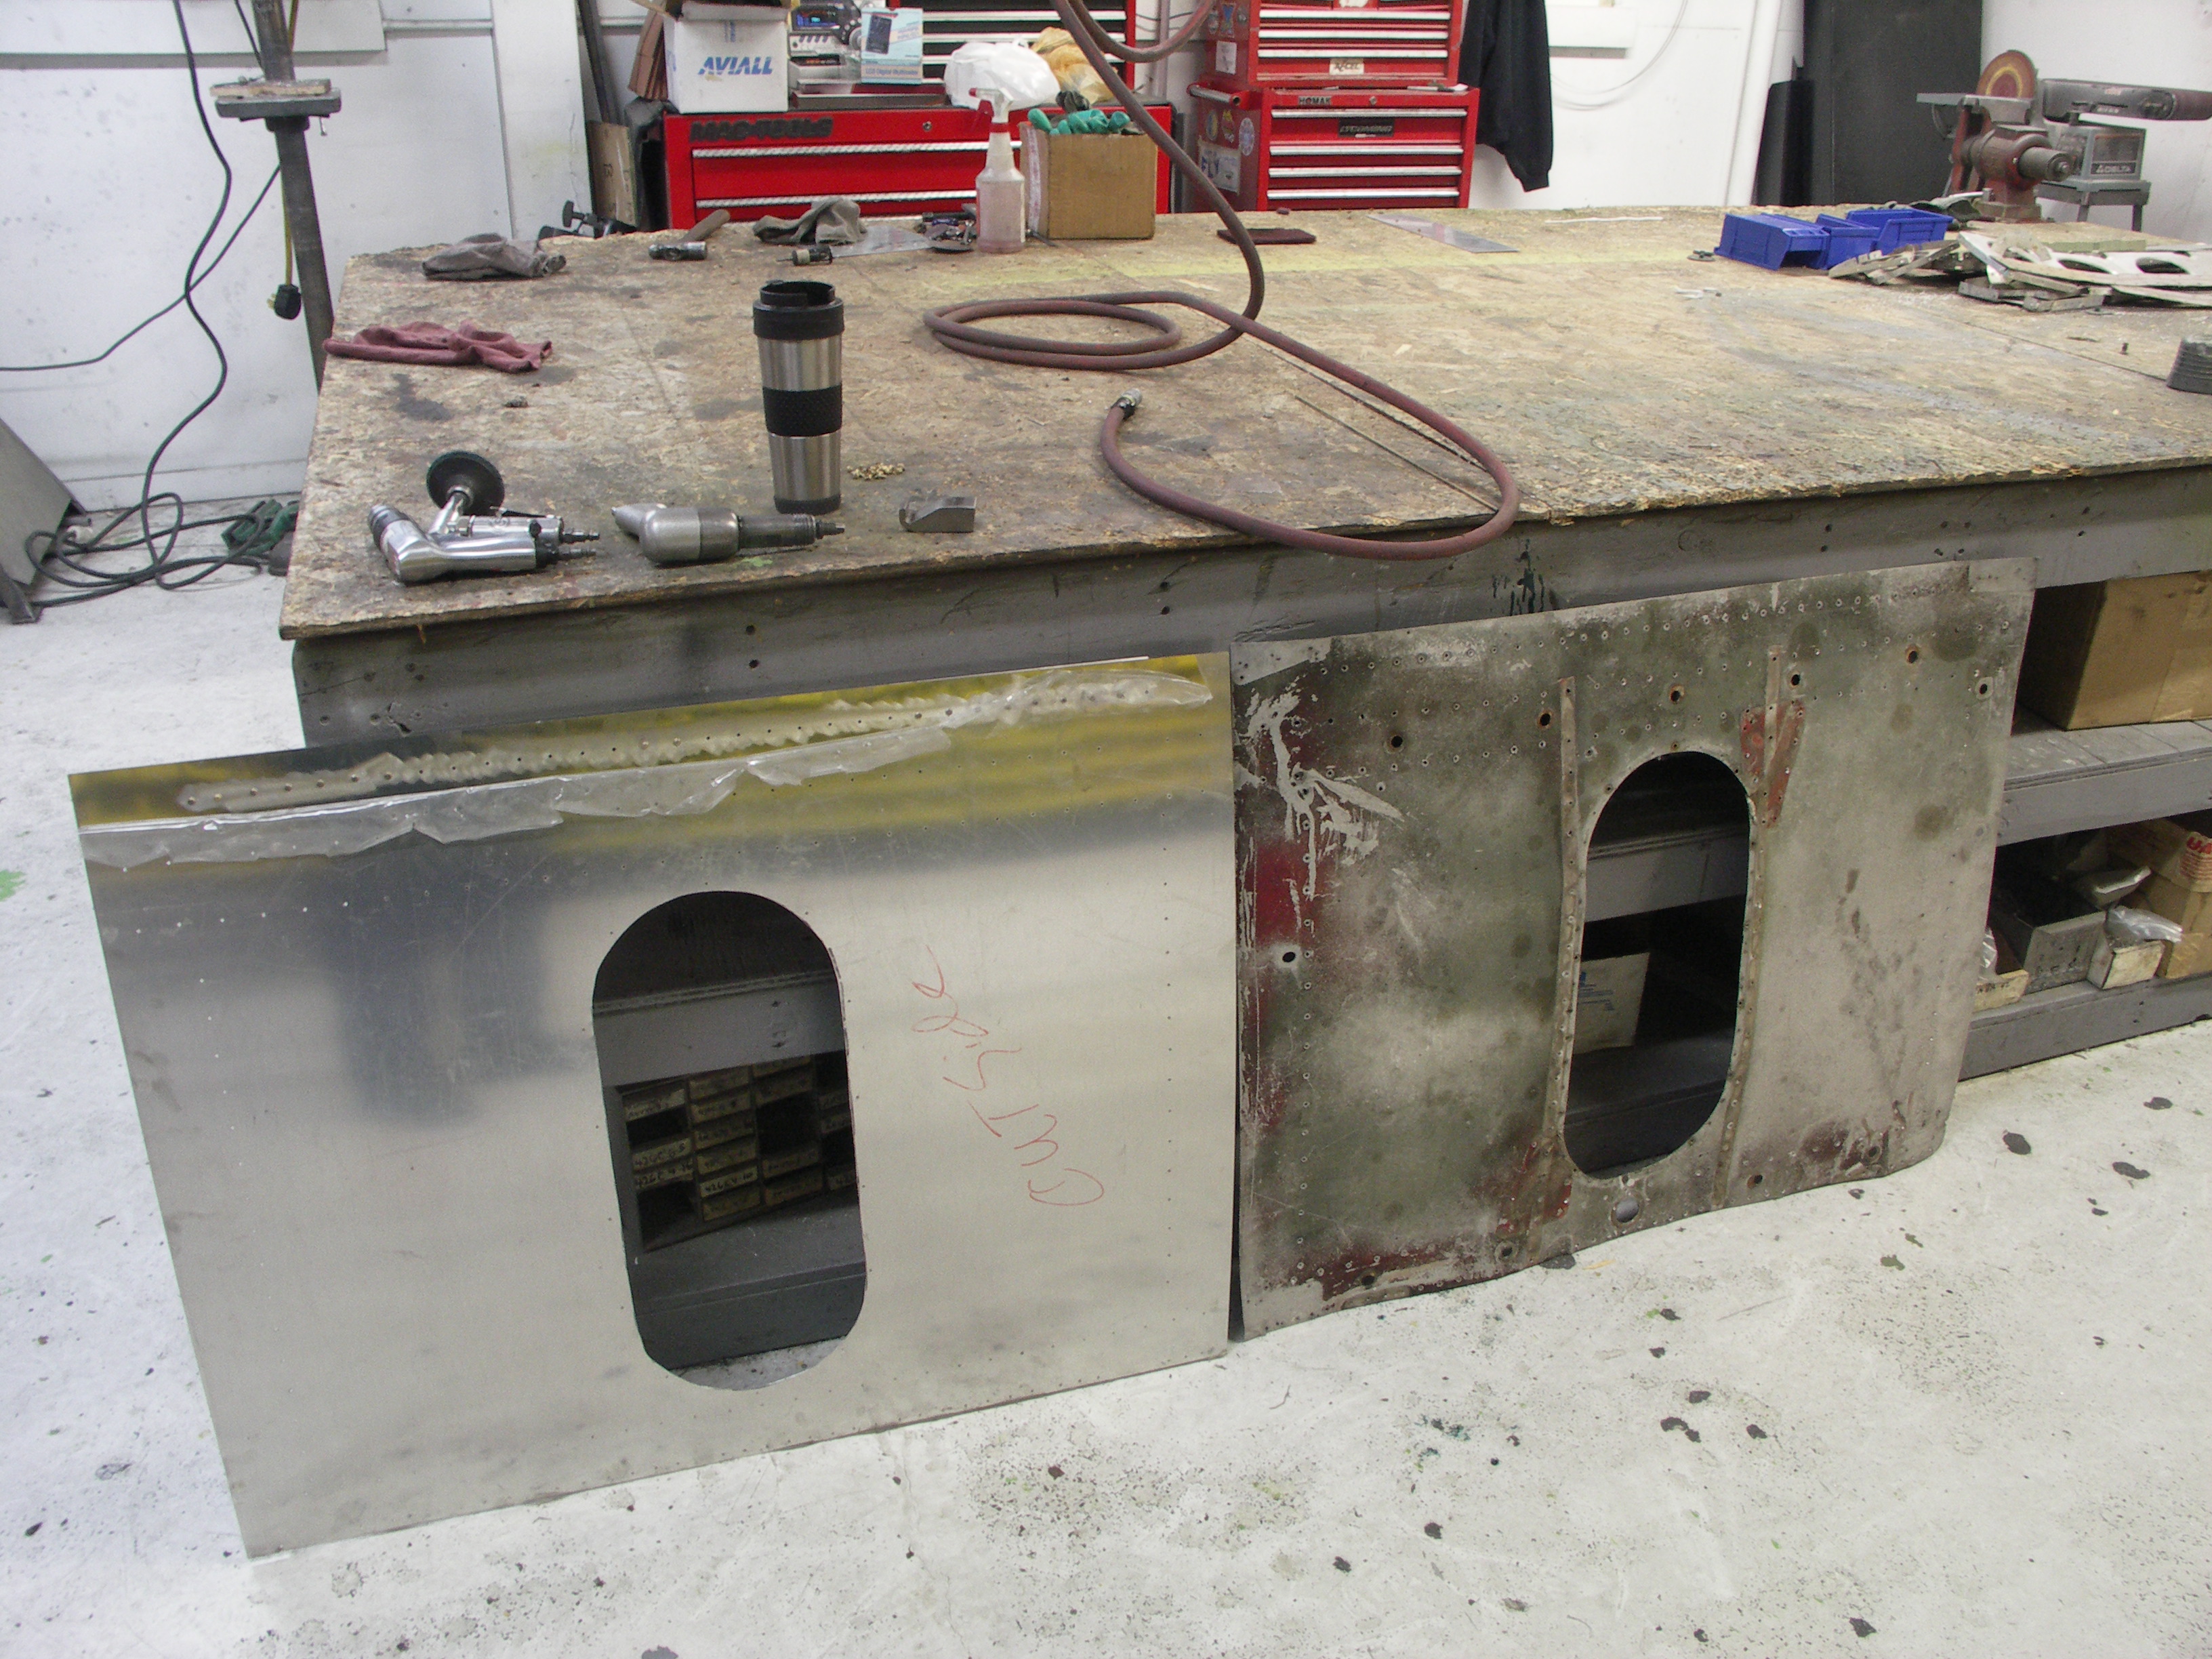
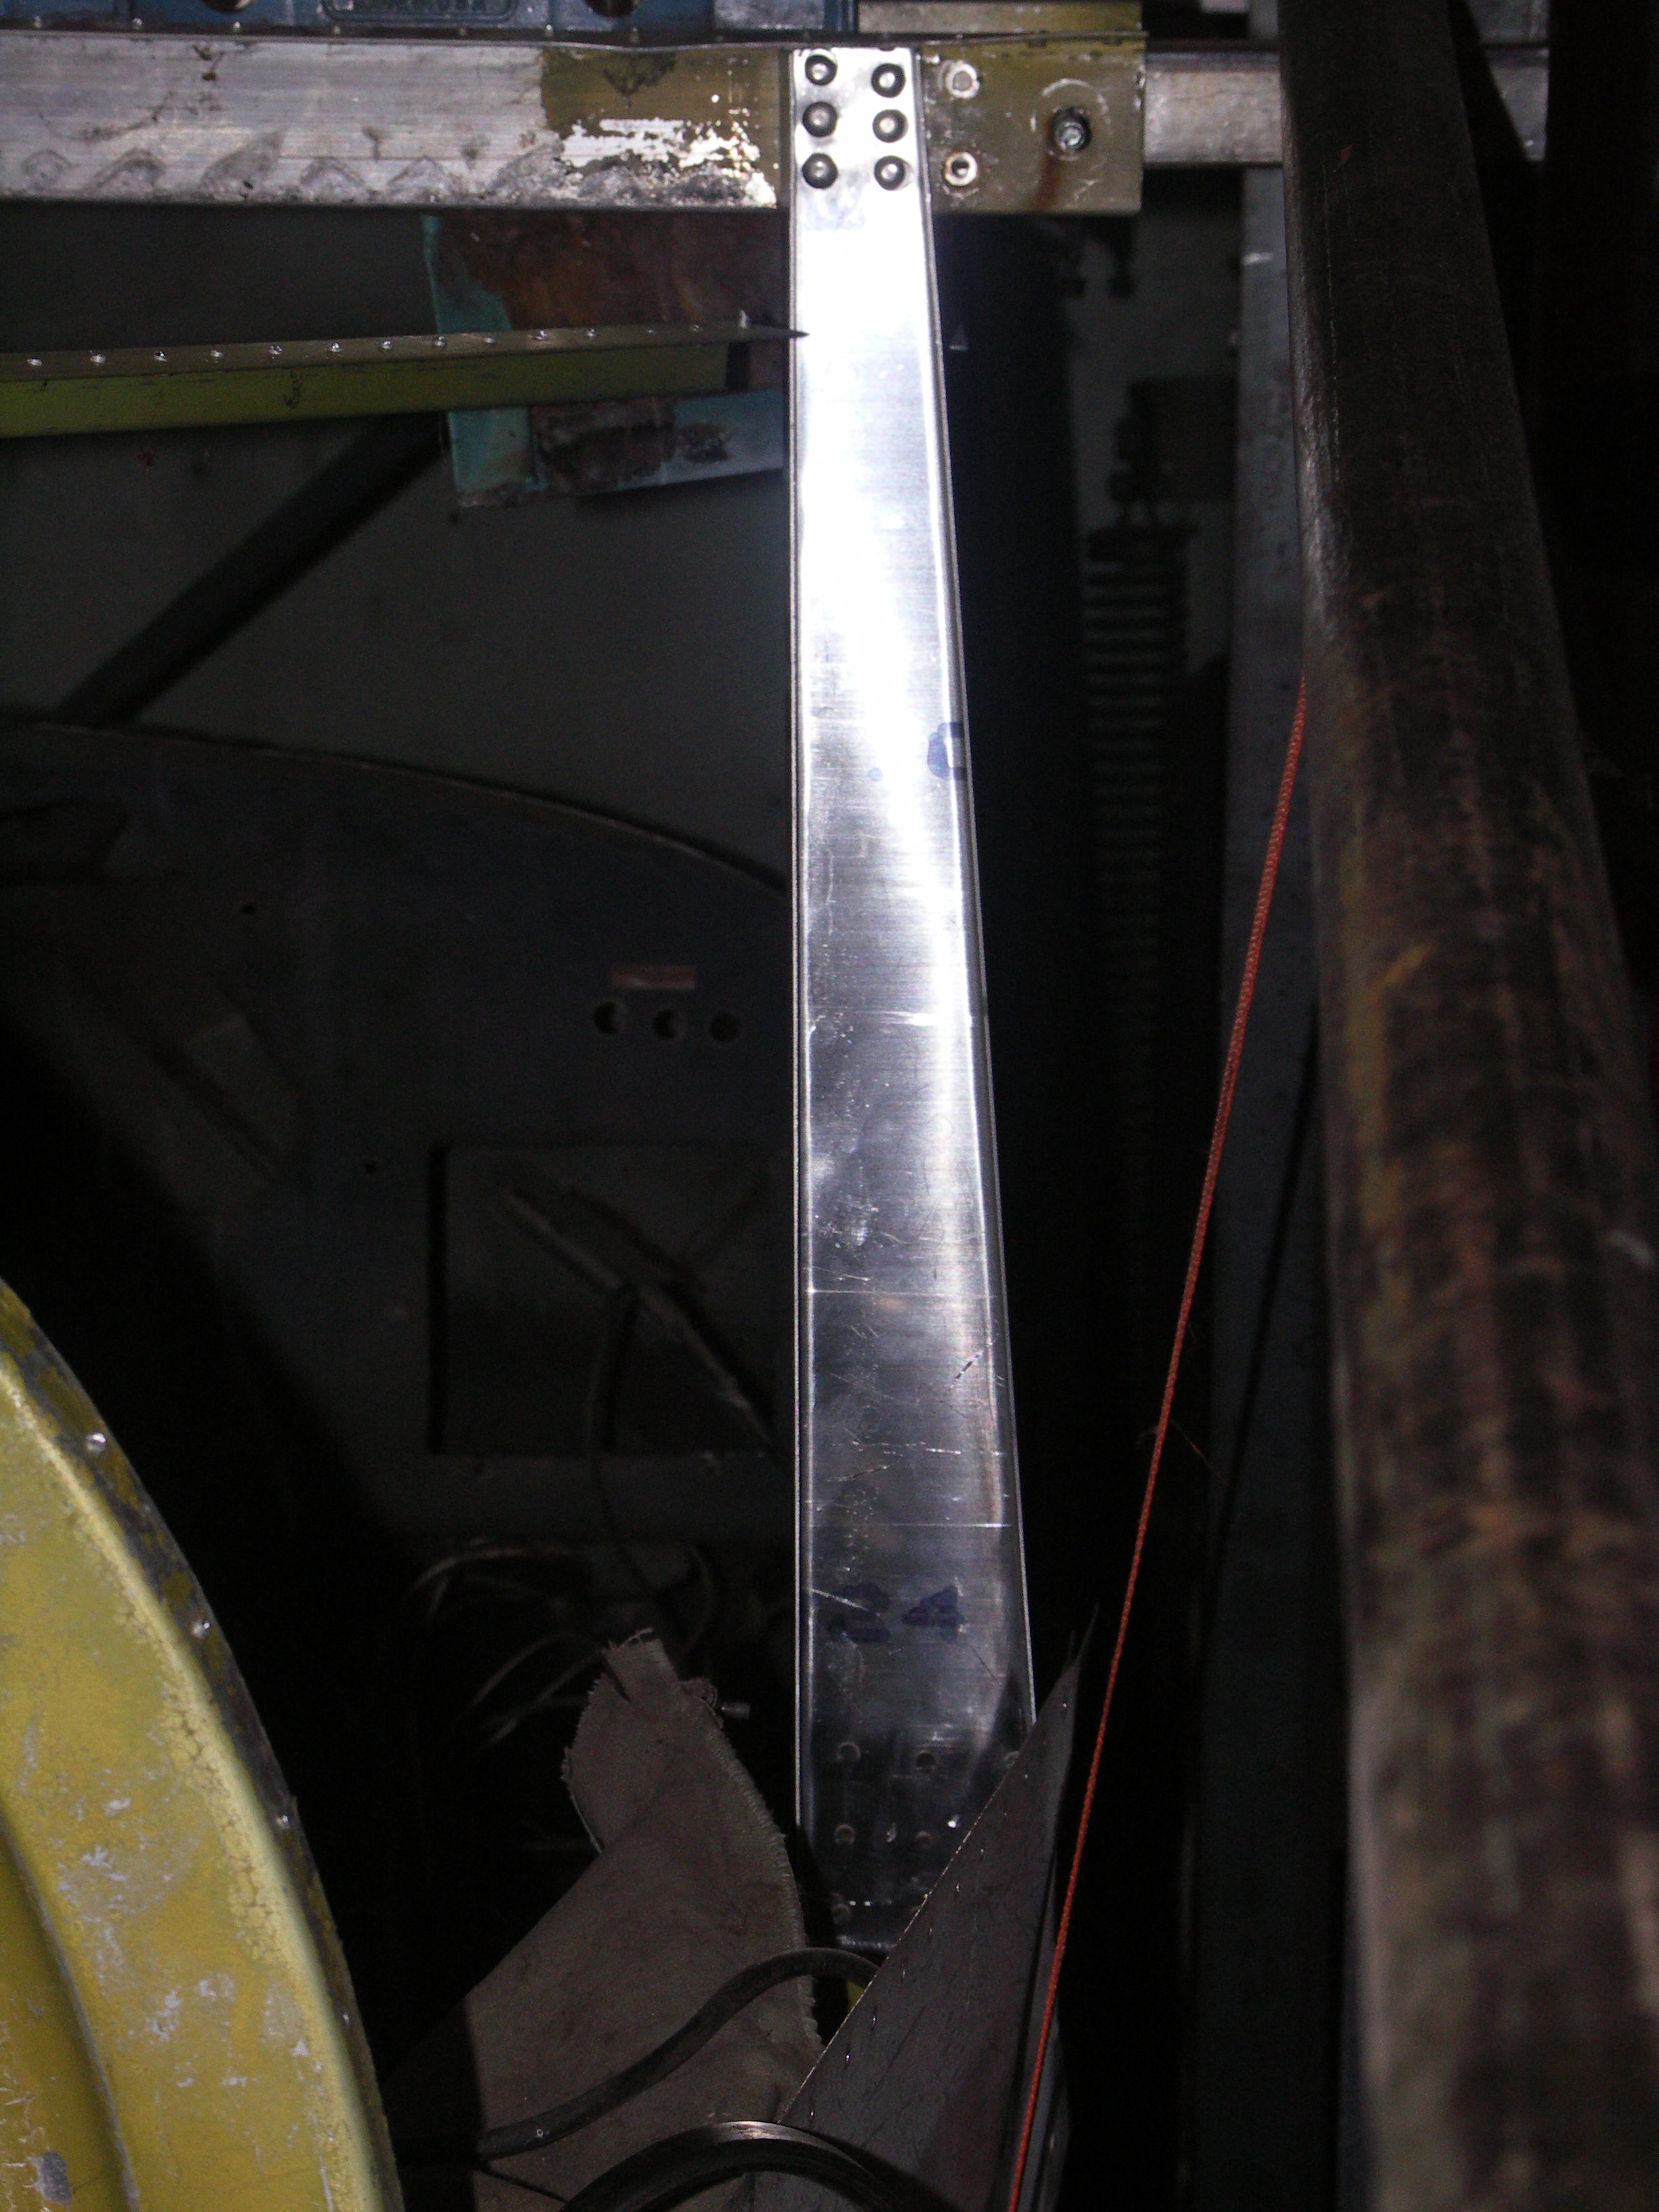
 The front window support is out and it will also need to be refinished,all the old sheetmetal will be salvaged for the rebuild on 52b(wich will be converted back to #6679).

picture004.jpg

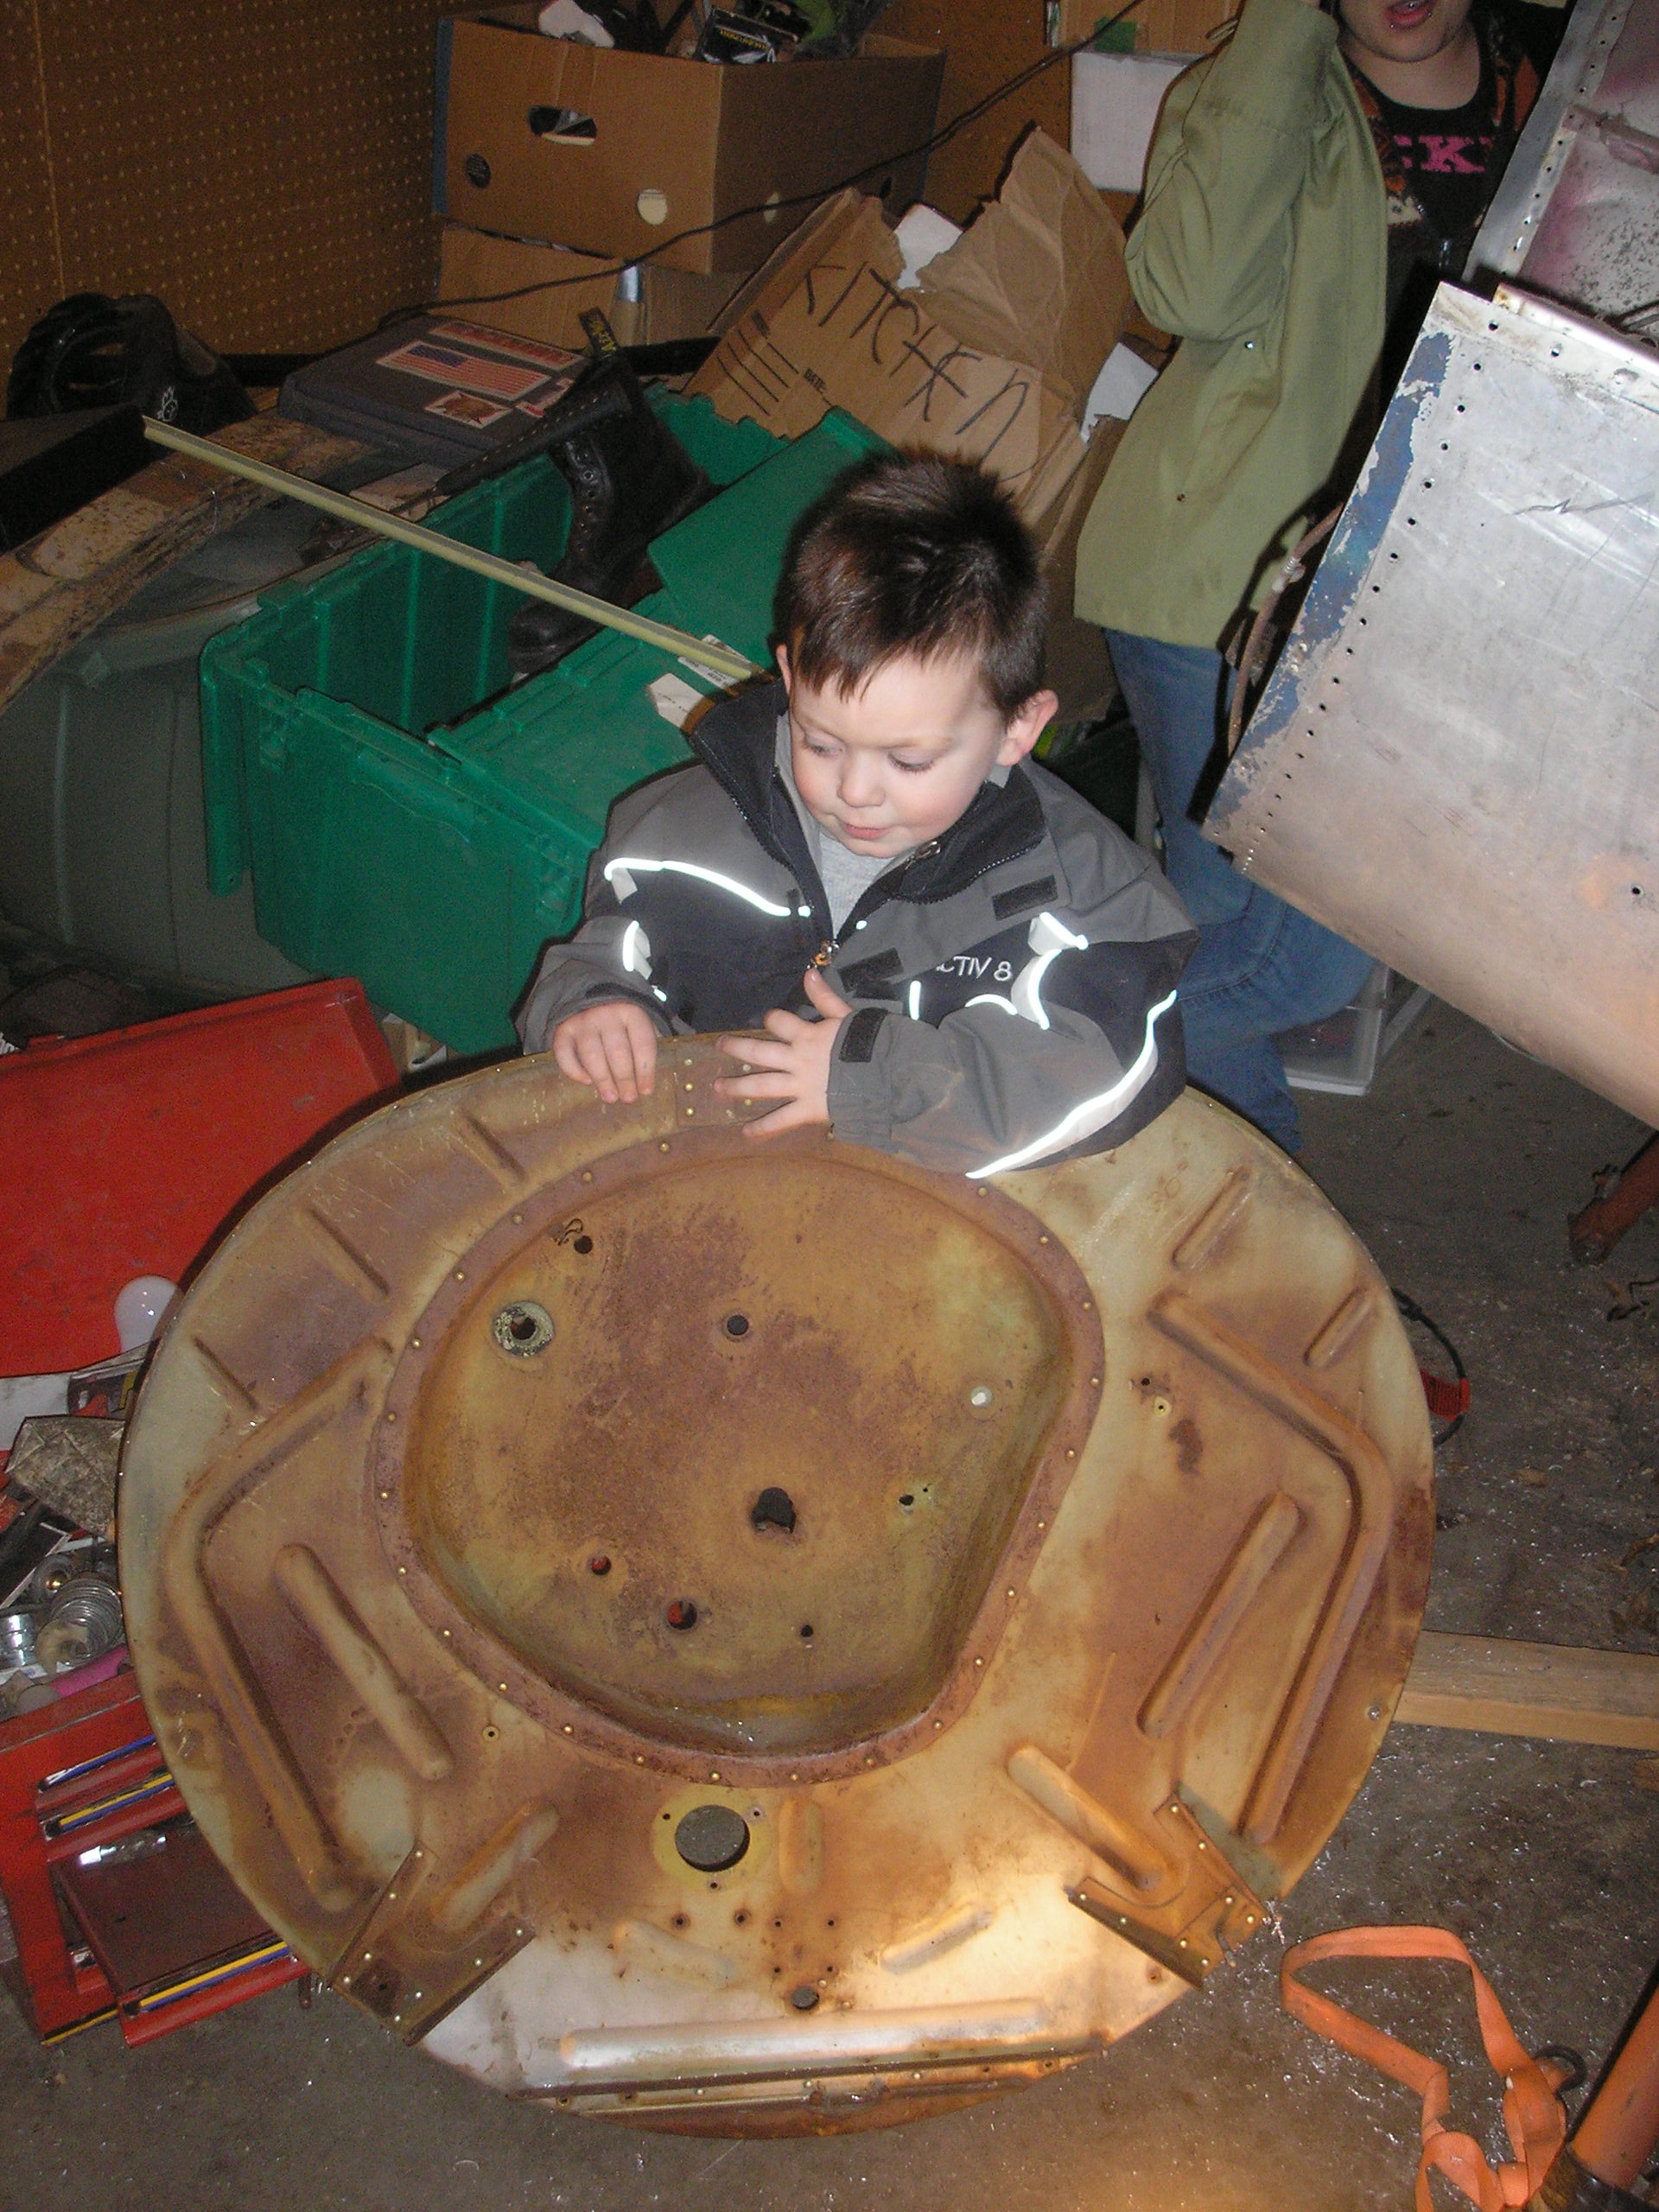
Here is my  4 year old son Bailey,holding the firewall after it was removed from the canibalization bird

Tools and Materials
 So far I have found the need for the following
sandblaster
LARGE press
air driven tools ie.drills
aircraft grade drill bits
rivit guns
about a million # 3 and 4 rivits
all the patience you (and spouse) can muster
more money than brains
people who can answer questions (thanks goes to Vicki Domke Tamarack air,Steve Contaster Airframe alterations,and all the guys at Everets Air Fairbanks Alaska.)

In this area I'll include a list of all the material necessary to perform the tasks I'm describing on this page.

Terminology

In this area I'll define any specialized vocabulary that it's helpful to know in order to perform the tasks described on this page.
A&P   Airframe and Powerplant mechanic
 IA     A&P mechanic with Inspection authorization .

picture003.jpg

picture002.jpg

We FINALY have 52 B ready to canibilize all the bulkheads bottom skins and landing gear.
 After a LOT of rivits were drilled I got access to the landing gear chanel to remove the gear legs so I can rebuild them

s4010021.jpg

s4010020.jpg

This is the underside of 52b after all the skins were removed, what you are looking at are the gear leg chanels where the landing gear were.
  I was able to salvage all the "seat deck" area (the structure under the seat that provides all the integral stucture for the fuselage up to the firewall from the #2 bulkhead)

After looking at the hull of 020, I have decided to go back to my original plan of useing 1425K as the rebuild.
 020 will be used for a rebuild at a later date,
 Noted damage was more extensive than originaly thought, and in order to get a plane in the air by Spring/Summer I am going with the path of quickest results

Well it finally happened today 1-10-06, I FINALLY have 1425 kilo ready to jig.
 The base jig is wood and is there to support the bottom of the fuselage only, the jig will be built in place useing the firewall engine mount, front wing attach point,rear wing attach point and the horizontal stabilizer attach point respectively.
 The jig will be constructed from 1 1/4 angle iron at the above listed points and will be bolted into place so as not to move ANY part of the airframe once I start the job or removing the back skins as well as some of the underbelly

1scan.jpg

This is the jig used by the Luscombe Heritage
01240001.jpg

new roof skins
pict0017.jpg

pict0003.jpg

March 21,2001
  The process of drilling out the rivets has began with some pretty major damage noted in the #3 bulkhead.
 The bulkhead that conects to the rear carry through spar has cracks on both sides and new pieces will have to be manufactured, the damage was most likely sustained after the aircraft was ground looped.
 the bulkhead is actually 3 seperate pieces and can be repaired by drilling out the rivets that conect the 3 and fabricating 2 new ones.
  There was no noted damage other than known cracks in the #2 bulkhead which is an Airworthiness Directive (AD) and the repair has to be complied with prior to certification.
 So far the roof skins and pilots side window panel as well as the triangle panel have been removed and are ready to be fabricated.

The pilots side bulkhead repair is done ,with repairs to be made on the right next.
 The repair is .050 t-3 2024 bent to the specs of the old one.
 After the bulkeads are done the roof will be rivited in place and then transitional panels followed by the triangle panels and then the backskin

April 17,2006
 
The back skins have been removed and fabrication has began.
 The bulkheads were replaced aft of the pilots and co-pilots seat. and the roof has been fabricated.
 The back skin is .032 2024 t-3 sheet metal and is 7"4 in length ,After removal of the skins no noticable damage was noted in the formers and the metal shows no sign of corrosion (for 60 year old metal it still had shine to it) the aft pulleys will be removed and replaced and an E.D (engineers drawing) will be complied with for stucural

pict0007.jpg
pilots rear carry through spar support

co-pilot rear carry through spar brace
pict0006.jpg

June 16,2006
 There may be light at the end of the tunnel !!!
  The new skins are almost ready to install as well as the insturment panel.
 All skins are 2024 T-3 and dimentions were taken from the old skins as well as the service manual from luscombe. most skins were in realy good shape considering they are 60 years old, however they have numerous dings and repairs fron the years and i thought it was a good idea to replace the things since i needed to get a better look at the shape of the structure to determine airworthiness

backskin.jpg